Option 1 - Adding to Header Navigation
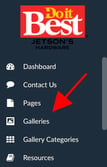
- Click on "Galleries" module in the menu bar.
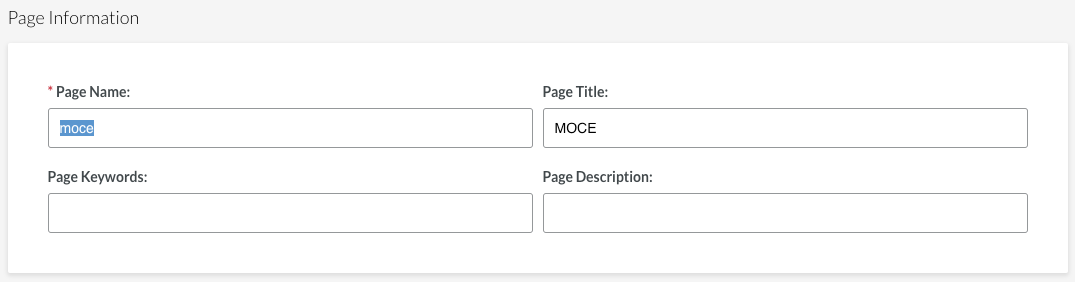
- In your gallery, scroll to the bottom to 'Page Information'
- Copy the Page Name

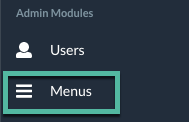
- In the left-side navigation scroll down to 'Menus'
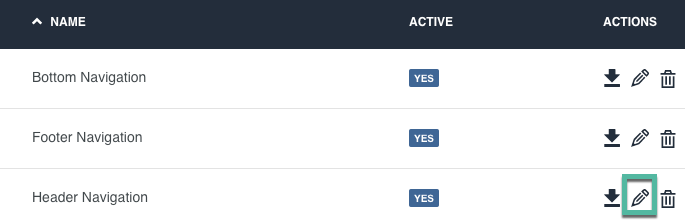
- Click on the pencil icon button next to Header Navigation
- Expand the Selection to add the gallery to your header (i.e. News & Events)
- Click the + button next to that header
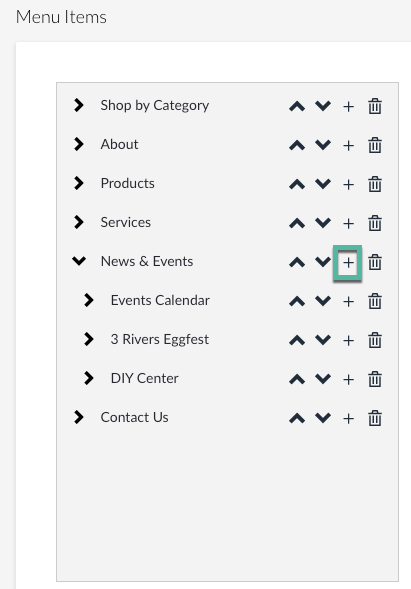
- 'New Item' will now be listed below
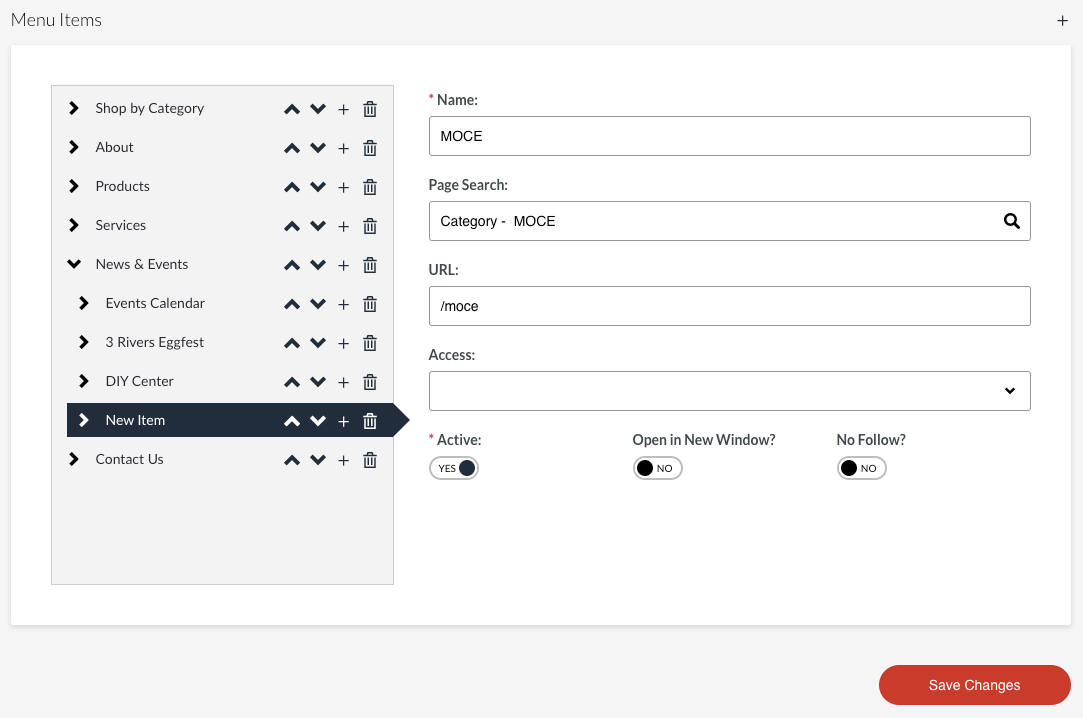
- Complete the fields on the right side:
- Name - This will be listed on your website
- Page Search
- If you created a category or page first, it will be listed in the dropdown menu
- i.e. Category - MOCE
- URL
- The internal page will automatically be linked
- If a category - remember how step 1 was copying the Page name?
- Paste the page name in the URL field but add a / first
- i.e. /moce
- SAVE YOUR CHANGES
- 'New Item' will be changed to the name provided and will appear on your website.
Option 2 - Adding to a Page
Please review these instructions in the Knowledge Base