Resources - Step 3 - Linking Your Resource(s) to Your Website Header Navigation
This module is for Full Admin Users adding resources to their website menu
Option 1 - Adding to Header Navigation
- In your resource, scroll to the bottom to 'Page Information'
- Copy the Page Name


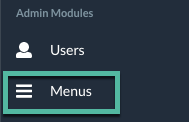
- In the left-side navigation scroll down to 'Menus'

- Click on the pencil icon button next to Header Navigation

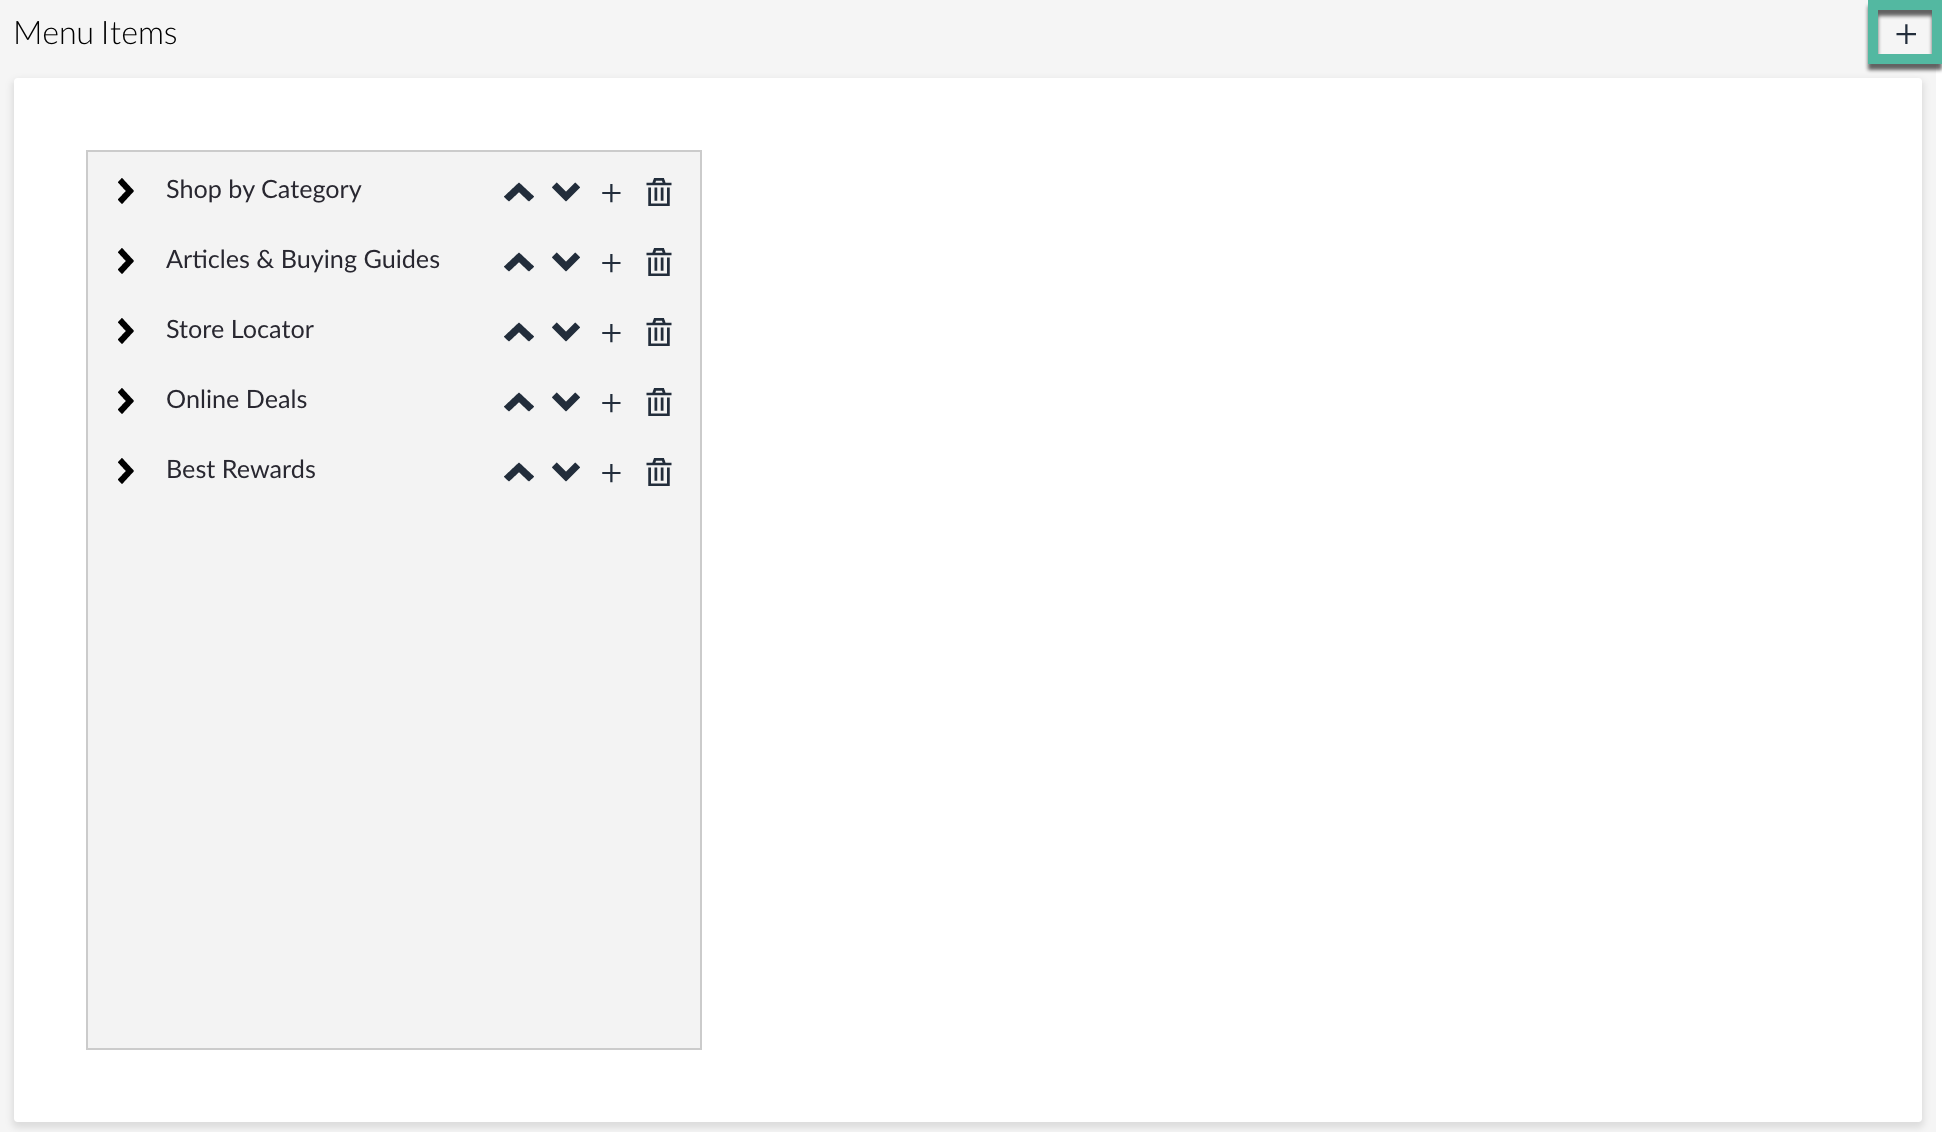
- Expand the Selection to add the resource to your header (i.e. Articles & Buying Guides)
- Click the + button next to that header

- 'New Item' will now be listed below
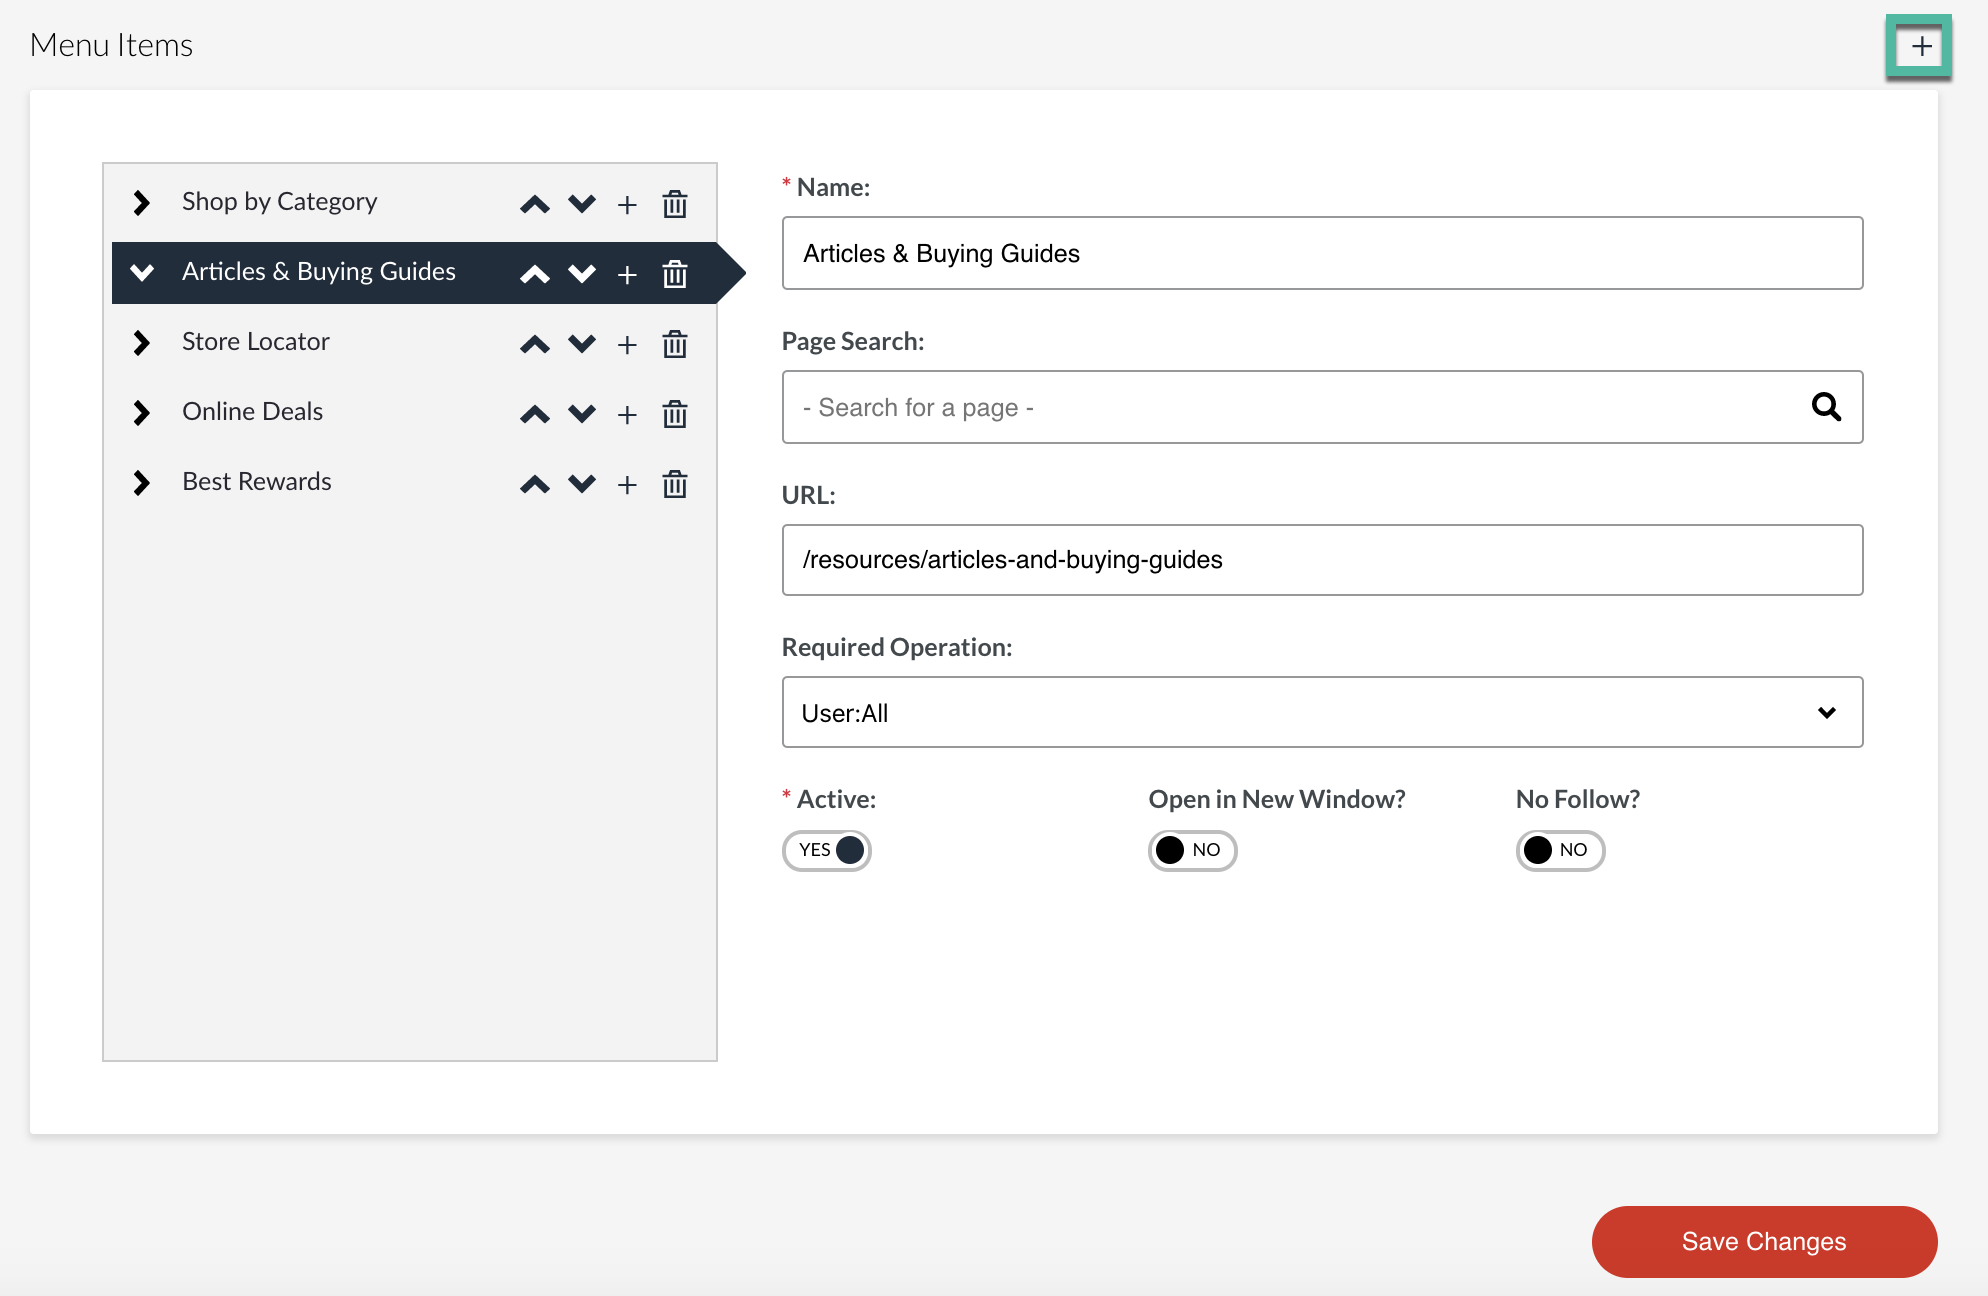
- Complete the fields on the right side:
- Name - This will be listed on your website
- Page Search
- If you created a category or page first, it will be listed in the dropdown menu
- i.e. Category - MOCE
- URL
- The internal page will automatically be linked
- If a category - remember how step 1 was copying the Page name?
- Paste the page name in the URL field but add a / first
- i.e. /moce
- SAVE YOUR CHANGES
- 'New Item' will be changed to the name provided and will appear on your website.

