WARNING: Be cautious when adding any of this code to a page. As of now, the front-end of the editor may not behave the same way after adding the code. It would be best to only use when necessary, and to build out the entire page first, then go back and add these options.
Button:

To add a button, switch to the code editor and add this line of code:
<a href="#" class="CMSButton">I'm a Button</a>
Or if you want the link to open in a window use:
<a href="#" class="CMSButton" target="_blank">I'm a Button</a>
Replace “#” with your link. Be sure to make it a relative link rather than absolute. Ex: /about-us instead of www.doitbest.com/about-us
Replace: “I’m a Button” with the button text.
Full Width Button:
If you would prefer the button to go full width use the below code.

<a href="#" class="CMSButton CMSButtonFull" >I'm a Button</a>

For side by side buttons, it is important to wrap the buttons in a "<div></div>" or "<p></p>" so they properly stack on mobile.
<div class="TwoColumns">
<div>
<a href="/ " class="CMSButton CMSButtonFull">I'm a Button</a>
</div>
<div>
<a href="/ " class="CMSButton CMSButtonFull">I'm a Button</a>
</div>
</div>
Side by Side:
To add side by side columns first, in the editor or in the code editor, make two elements. These can either be images, text, whatever. Then, in the code editor, add this code:
<div class="TwoColumns">
PLACE ELEMENTS HERE
</div>
Copy the code of the elements and put them in between the divs.
If you need multiple elements on one side wrap them in a div, ex:
Image Left -> Text Right Example
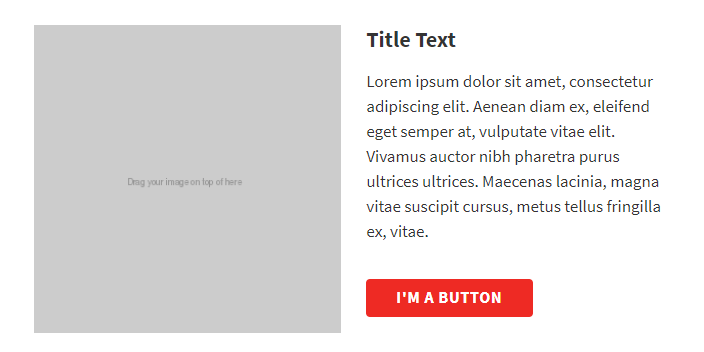
<div class="TwoColumns">
<div>
<figure>
<img src="/Data/your-img-src-300.png">
</figure>
</div>
<div>
<h3>Title Textle</h3>
<p>Your content</p>
<a href="#" class="CMSButton">I'm a Button</a>
</div>
</div>
Text Left -> Image Right Example
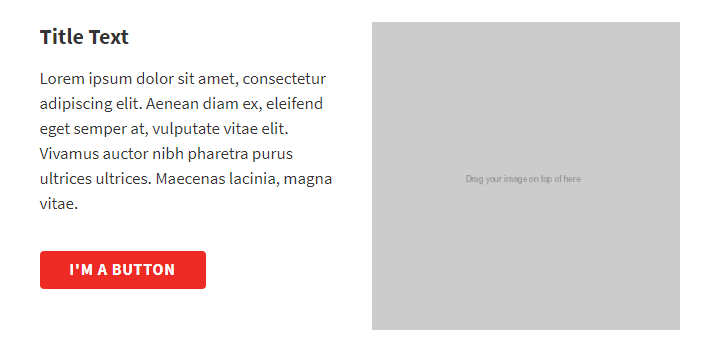
<div class="TwoColumns">
<div>
<h3>Title Text</h3>
<p>Your content</p>
<a href="#" class="CMSButton">I'm a Button</a>
</div>
<div>
<figure>
<img src="/Data/your-img-src-300.png">
</figure>
</div>
</div>
Image Left & Image Right Example

<div class="TwoColumns">
<div>
<figure>
<img src="/Data/your-img-src-300.png">
</figure>
</div>
<div>
<figure>
<img src="/Data/your-img-src-300.png">
</figure>
</div>
</div>
Text Left & Text Right Example

<div class="TwoColumns">
<div>
<h3>Title Text</h3>
<p>Your content</p>
</div>
<div>
<h3>Title Text</h3>
<p>Your content</p>
</div>
</div>
Three Column Example:
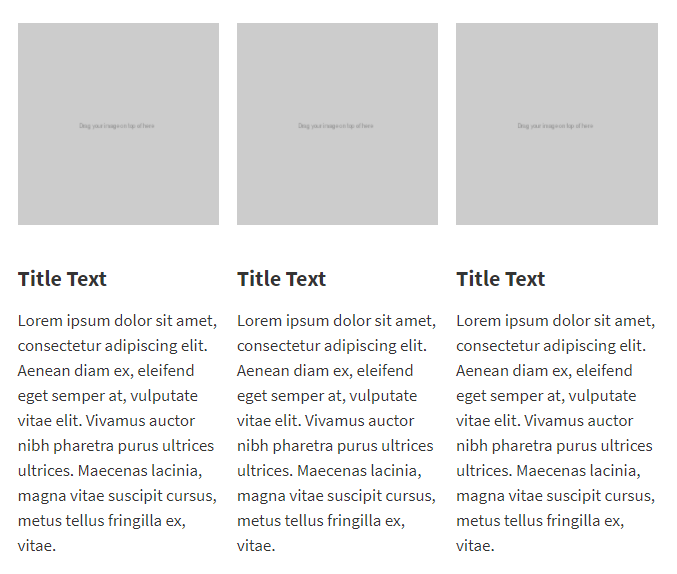
<div class="ThreeColumns">
<div>
<figure><img src="/Data/your-img-src-300.png">
</figure>
<p></p>
<h3>Title Text</h3>
<p>Your content</p>
</div>
<div>
<figure><img src="/Data/your-img-src-300.png"></figure>
<p></p>
<h3>Title Text</h3>
<p>Your content</p>
</div>
<div>
<figure><img src="/Data/your-img-src-300.png"></figure>
<p></p>
<h3>Title Text</h3>
<p>Your content</p>
</div>
</div>
Services Title:

To add a service heading, simply wrap an <h2> in a div with the class “ServiceHeading,” ex:
<div class="ServiceHeading">
<h2>I'm a Service Heading</h2>
</div>
Anchor Tags:
To add an anchor to an image, button or any link follow these steps.
Image Anchor
- Find your img tag. Example: <img src="/your-img-src">
- Wrap it in an <a> tag. Example: <a href=” ”><img src="/your-img-src"></a>
- Add your anchor’s name to the href (No spaces allowed, starts with #.) Example:
<a href=”#MyAnchor”><img src="/your-img-src"></a>
- Determine where you want your anchor to go. Add an id to your tag. Examples:
<p id=”MyAnchor”>My paragraph</p>
<div class=”TwoColumns” id=”MyAnchor”> two columns code </div>
Note: Don’t use the hashtag (#) in the id
Button Anchor
- Add your anchor name to the href of your button. (No spaces allowed, starts with #.) Example: <a href="#MyAnchor" class="CMSButton">I'm a Button</a>
- Determine where you want your anchor to go. Add an id to your tag. Examples:
<p id=”MyAnchor”>My paragraph</p>
<div class=”TwoColumns” id=”MyAnchor”> two columns code </div>
Note: Don’t use the hashtag (#) in the id
Link Directly to Your Anchor From A Separate Page
To link directly to an anchor on a page from another page (a blurb from the home page, another CMS page, etc). Simply append the anchor name with the hashtag (#) to the end of your link. (No spaces or slashes needed)
Example: /tools-and-supplies -> /tools-and-supplies#MyAnchor
WARNING: Be cautious when adding any of this code to a page. As of now, the front-end of the editor may not behave the same way after adding the code. It would be best to only use when necessary, and to build out the entire page first, then go back and add these options.