- MOCE & oDash Knowledge Base
- MOCE - Editing
- Menu (Navigation - Footer & Header)
-
Login to MOCE
-
Ship-to-Store Information
-
Let Us Help
-
Update Promotions & Pricing
-
MOCE - Editing
- Logging into your MOCE Admin
- Pages - Create and Edit ( Standard + )
- Blurbs - Editing ( Standard +)
- FAQ - ( Standard + )
- Galleries - Create, Edit and Maintain
- Resources - Create, Edit, & Maintain
- Store Locations - Editing and Adding
- Sales Order Module
- Menu (Navigation - Footer & Header)
- Contact Us
- Member & User Modules
- Employment - Create, Edit, & Maintain
- Directory Listing
-
Reports
-
MOCE Subscription
-
Pick N Pack Mobile App
-
MOCE - Release Notes
-
ōDash
-
ōDash FAQ
-
oDash New Features
-
MOCE - Popular Topics
-
Do it Best Internal
-
JH Program Mgrs
-
MOCE Professional Plan Resources
-
New Features
-
MOCE - Onboarding
-
MOCE Information
-
MOCE Updates
-
Solutions to Scale
-
Internal
Editing your Footer Navigation
This article is for Standard and above MOCE subscribers who are editing their website.

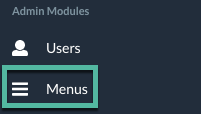
- Click on the 'Menus' module in your left-side navigation
- Click on the pencil icon to create or edit your menu navigation
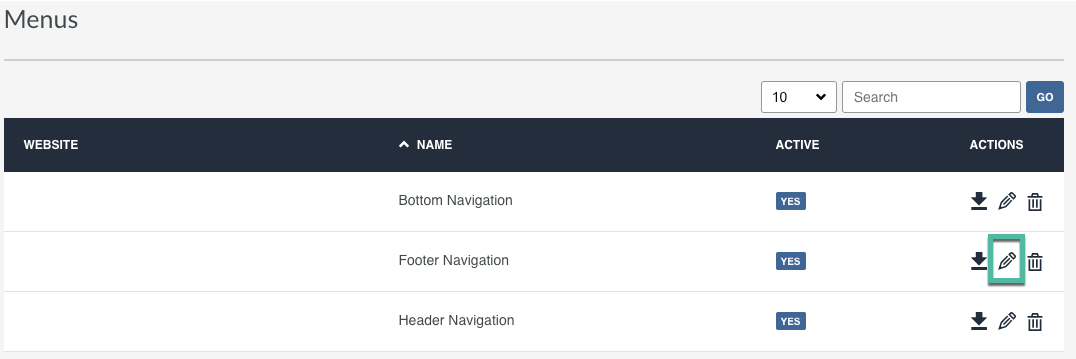
Your footer menu has three columns. The columns are not titled and the menu edits follow the top section for the left side, middle section for the middle, and bottom section for the right side.
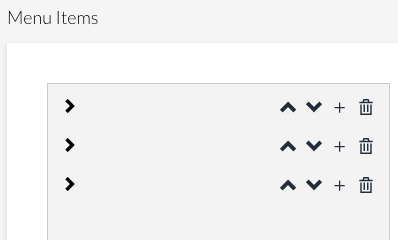
- Expand the section you want to edit or add to by clicking on the corresponding arrow on the left side
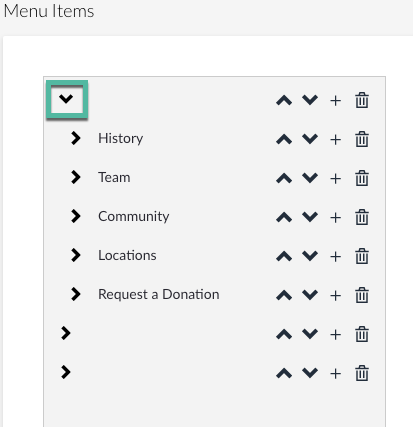
- Click the + sign next to the arrow to add a new footer item
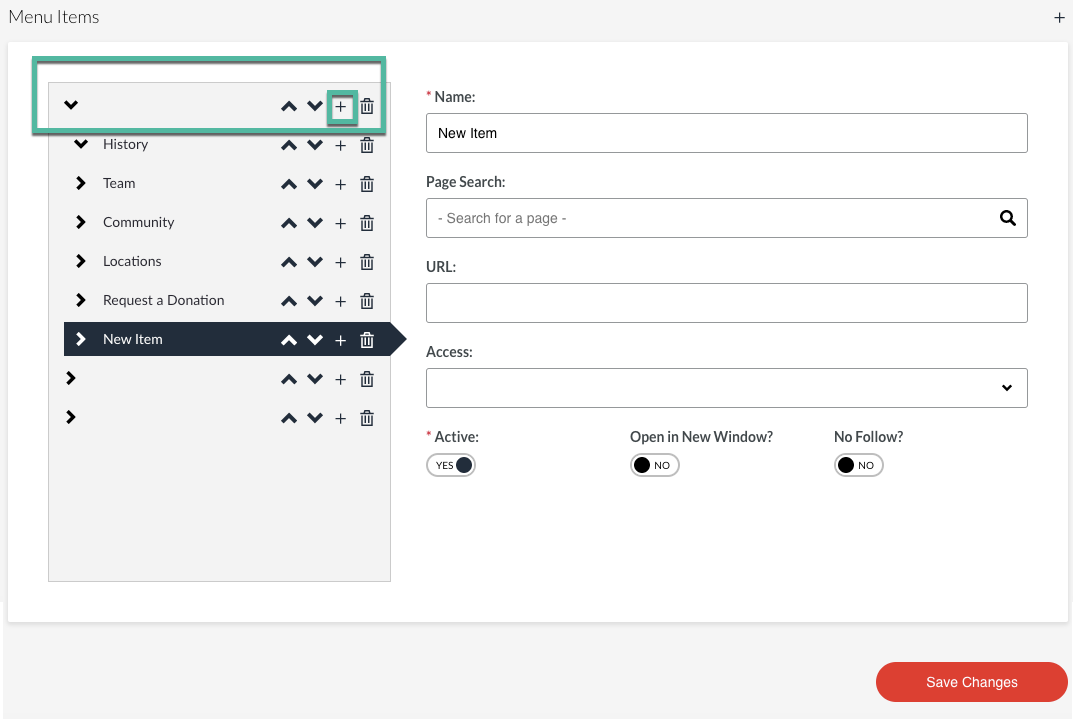
- The new item appears at the bottom of the list
- Name your Footer
- Use the Page Search
- - OR _
- Paste in the URL
- You can link to an internal page or an external page
- Learn how to link an internal page
- Use the up and down arrows to move the new item in the order you wish it to be displayed
- Click 'Save Changes'
It can take about 10 minutes for your new menu items and changes to display on your website.
