Editing your Header Navigation (Top Menu)
This article is for Standard and above MOCE subscribers who are editing their website.

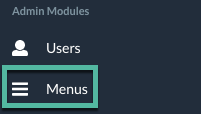
- Click on the 'Menus' module in your left-side navigation

- Click on the pencil icon to create or edit your menu navigation

Adding a new menu item
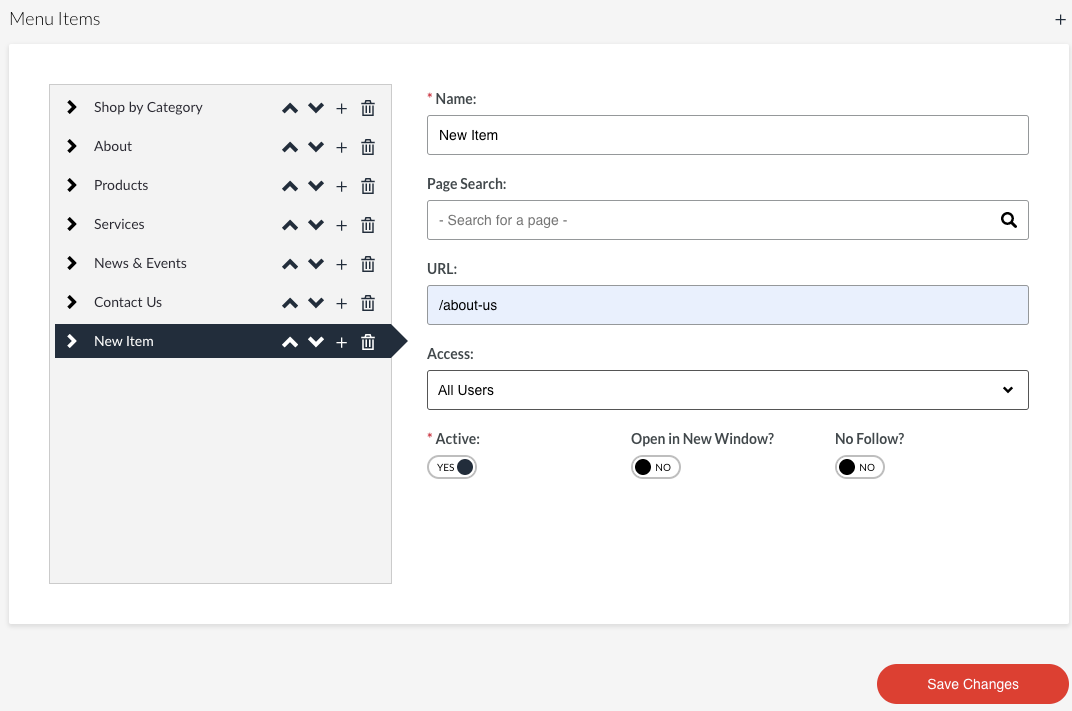
To add a main menu item click on the + sign
- The 'New Item' Appears at the bottom of the list

- Provide a Name for your Menu item
- Either search for your page by clicking on the magnifying glass icon
- OR - - Paste your page URL into the field
- You can link to an internal page or to an external website
- Directions to link an internal page
- Select 'All Users' from the dropdown menu
- Optional - toggle to 'YES' in 'Open in New Window?' if you are directing to your customers to a different website
- Click 'Save Changes'
Editing the order of your menu
- Use the up and down arrows next to each item that you want to move up or down
- Up moves the items to the left
- Down moves items to the right
- Click 'Save Changes'
It can take about 10 minutes for your new menu items and changes to display on your website.
